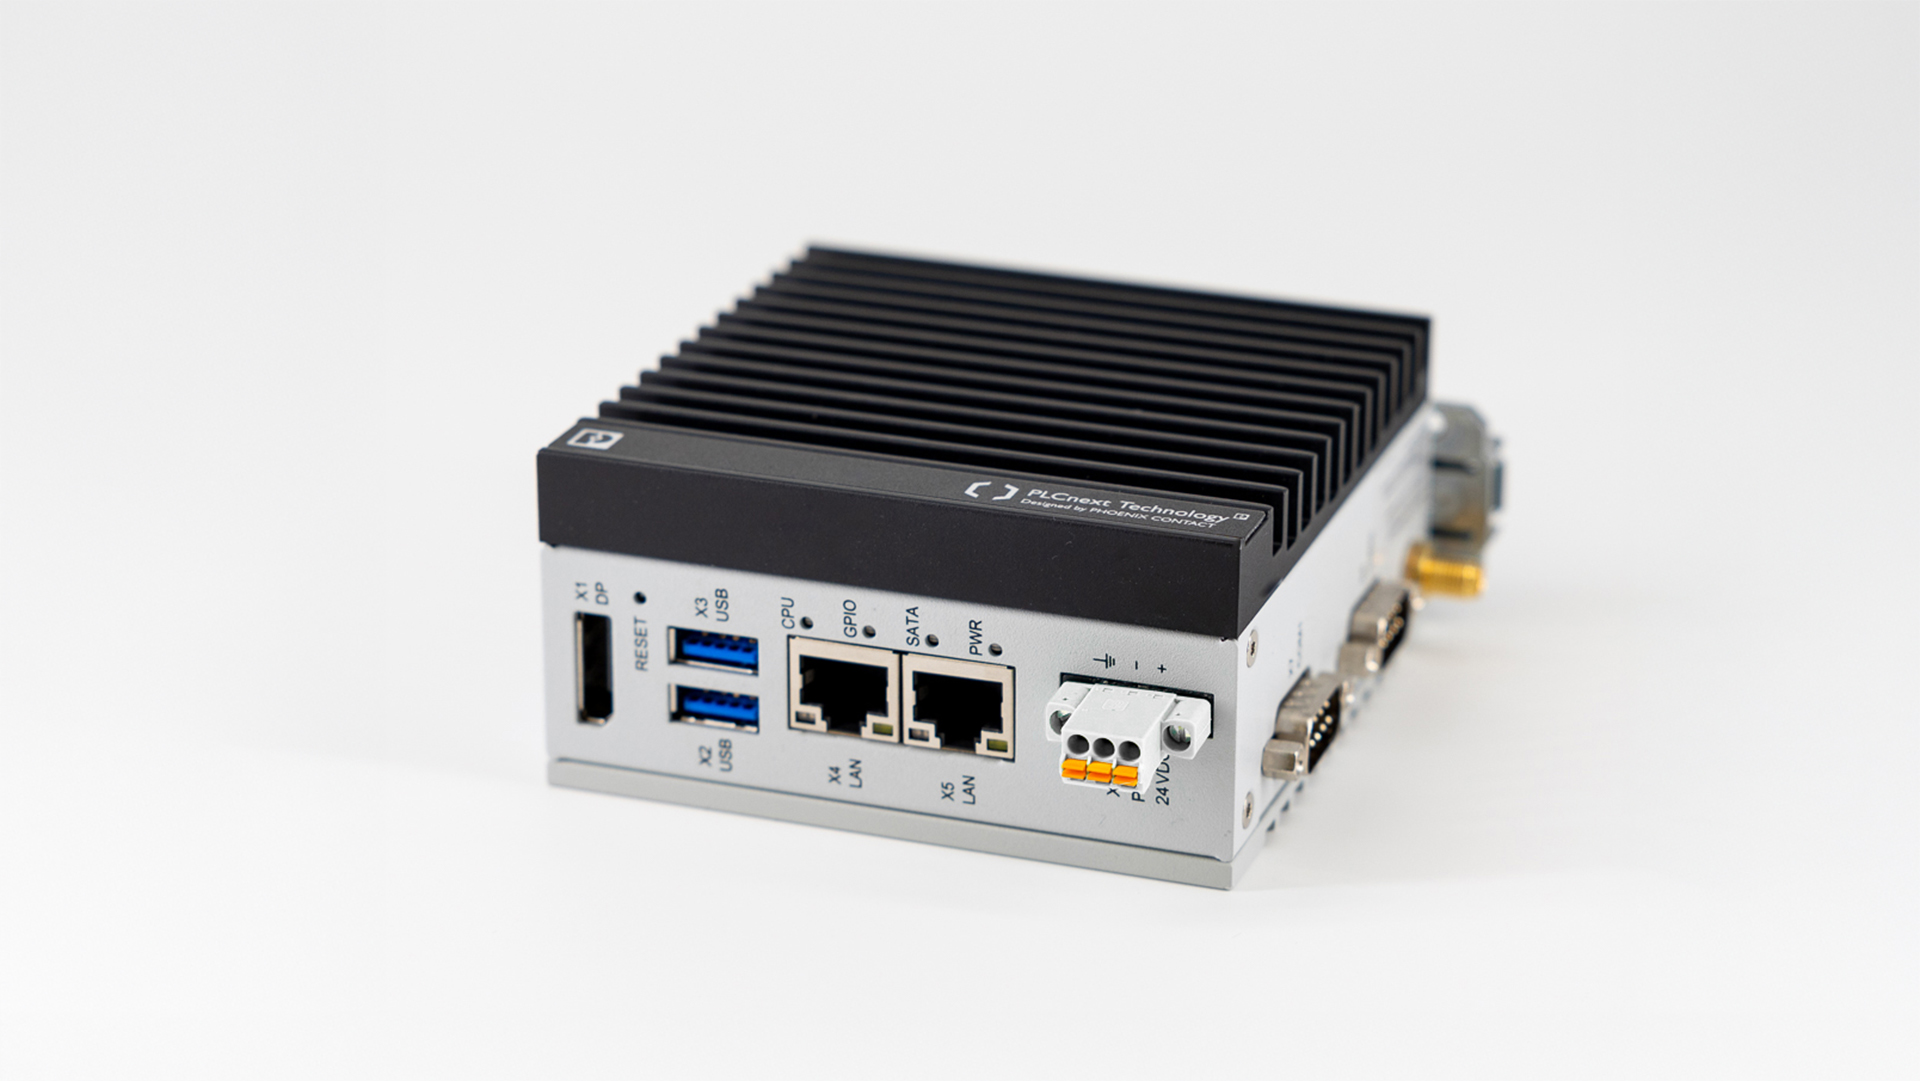
When developing components and programs for PLCnext in C++, it is often required to use functions provided by external, open source libraries. Open source libraries are available for applications including:
- Machine learning
- Special communication protocols
- Database management
PLCnext Technology allows functions in external libraries to be called directly from real-time, deterministic control programs.
This guide describes how to use a third-party open-source library in a C++ project that is built for PLCnext Control using Eclipse.
NOTE: When using third-party software, it is the responsibility of the user to ensure that all license conditions are complied with.
Prerequisites
- AXC F 2152 FW 2019.0 LTS or higher
- PLCnext Engineer 2019.0 LTS or higher
- PLCnext Command Line Interface (CLI) 2019.0 LTS or higher.
- A suitable PLCnext Software Development Kit (SDK), installed using the CLI.
- Eclipse IDE for C/C++ developers, with the PLCnext Technology add-in.
This example uses the open-source Ne10 library, which provides maths, signal processing, image processing, and physics functions.
This example uses a linux host. On Windows, a bourne-again shell (bash) is required, or else the bash script must be replaced with a suitable batch file or PowerShell script. WinSCP can be used to deploy the NE10 files to the target.
Procedure
1. In Eclipse, create a new PLCnext C++ project
- Use the procedure described in this video tutorial.
- Create directories with the following names in the project root directory:
external,tools, andcmake.
2. Build the external library
- Copy the source code for the external library, as follows: Right-click on the
externalfolder in Eclipse, select “Show in local terminal”, and then execute the following command in the terminal:$ git clone --depth 1 https://github.com/projectNe10/Ne10 - In the
toolsdirectory, create file namedbuild-Ne10.sh. Open this file and add the text below. This shell script builds the Ne10 library for one specific version of the AXC F 2152 firmware, using some library-specific build switches. You may need to modify the value of the SDK_ROOT variable. In a production application, target-specific variables like SDKROOT would be set by the build environment, rather than hard-coded into this script.
#!/bin/bash

#

# Get the directory of this script

DIR="$( cd "$( dirname "${BASH_SOURCE[0]}" )" >/dev/null 2>&1 && pwd )"
# Set the root path to the PLCnext Toolchain
export SDKROOT=”/opt/pxc/sdk/AXCF2152/2019.3″ export NE10_LINUX_TARGET_ARCH=armv7
# Run CMake
cmake -D CMAKE_BUILD_TYPE=Release -D BUILD_TESTING=OFF -D BUILD_SHARED_LIBS=ON -D CMAKE_STAGING_PREFIX=”${DIR}/../out/axcf2152″ -D CMAKE_TOOLCHAIN_FILE=”${SDKROOT}/toolchain.cmake” -D ARP_TOOLCHAIN_ROOT=${SDKROOT} -D GNULINUX_PLATFORM=ON -D NE10_ARM_HARD_FLOAT=ON -D NE10_BUILD_STATIC=FALSE -D NE10_BUILD_SHARED=ON -D NE10_BUILD_EXAMPLES=OFF -D NE10_BUILD_UNIT_TEST=OFF -S “${DIR}/../external/Ne10” -B “${DIR}/../build/axcf2152/external/Ne10” # Build the project cmake –build “${DIR}/../build/axcf2152/external/Ne10”
- After saving the file, make sure the file has execute privileges by right-clicking the
build-Ne10.shfile and selecting “Properties”. In the Resource section, tick the Owner – Execute permission box. - Execute the shell script to build the external library, as follows: Right-click on the
toolsfolder in Eclipse, select “Show in local terminal”, and then execute the following command in the terminal:$ ./build-Ne10.sh
3. Install the external library
- Copy the external library files to the target, as follows: Right-click on the project root folder in Eclipse, select “Show in local terminal”, and then execute the following commands in the terminal (replacing the IP address with the IP address of your PLC):
$ scp build/axcf2152/external/Ne10/modules/libNE10.so* admin@192.168.1.10:/usr/local/lib $ scp external/Ne10/LICENSE root@192.168.1.10:/usr/share/common-licenses(Note: the LICENSE file should be copied asrootto the well-knowncommon-licensedirectory on the PLC, however this is not required for the correct operation of this example). - On the target, repair the symbolic link, and then run ldconfig to set up dynamic linker run-time bindings (i.e. make the new library available to programs that link them dynamically).:
$ cd /usr/local/lib $ ln -sf libNE10.so.10 libNE10.so $ sudo ldconfig
4. Modify the PLCnext project build environment to reference the external library
- In the project
cmakedirectory, create a Cmake Find module for the external library. The file below – namedFindNE10.cmake– is one possible implementation of this Find module.set(CMAKE_FIND_ROOT_PATH_MODE_INCLUDE BOTH) set(CMAKE_FIND_ROOT_PATH_MODE_LIBRARY BOTH) find_path(NE10_INCLUDE_DIR NAMES NE10.h PATHS external/Ne10/inc ) find_library(NE10_LIBRARY NAMES NE10 PATHS build/axcf2152/external/Ne10/modules ) include(FindPackageHandleStandardArgs) find_package_handle_standard_args(NE10 DEFAULT_MSG NE10_INCLUDE_DIR NE10_LIBRARY ) if(NE10_FOUND) set(NE10_LIBRARIES ${NE10_LIBRARY}) set(NE10_INCLUDE_DIRS ${NE10_INCLUDE_DIR}) endif() if(NE10_FOUND AND NOT TARGET NE10::NE10) add_library(NE10::NE10 UNKNOWN IMPORTED) set_target_properties(NE10::NE10 PROPERTIES IMPORTED_LOCATION "${NE10_LIBRARY}" INTERFACE_INCLUDE_DIRECTORIES "${NE10_INCLUDE_DIR}" ) endif() mark_as_advanced( NE10_INCLUDE_DIR NE10_INCLUDE_DIRS NE10_LIBRARY NE10_LIBRARIES) - In the project root directory, modify the CMakeLists.txt file to:
- specify the path to the CMake Find module for the NE10 library.
- find the NE10 package and add it to the list of target link libraries.
The ‘include arp cmake module path’ section of this file should look like this:
################# include arp cmake module path ####################################### list(INSERT CMAKE_MODULE_PATH 0 "${ARP_TOOLCHAIN_CMAKE_MODULE_PATH}") list(APPEND CMAKE_MODULE_PATH "${PROJECT_SOURCE_DIR}/cmake") #######################################################################################… and the ‘add link targets’ section should look like this (be sure to replaceMyProjectbelow with the name of your C++ project):################# add link targets #################################################### find_package(ArpDevice REQUIRED) find_package(ArpProgramming REQUIRED) find_package(NE10 REQUIRED) target_link_libraries(MyProject PRIVATE ArpDevice ArpProgramming NE10::NE10) #######################################################################################
5. Write the C++ program
- In this case, the NE10 library is used to implement a simple matrix multiplication in a real-time program. The external library functions can be referenced with the
#include "NE10.h"directive at the top of the Program header file. The complete program .hpp and .cpp files used in this example are included in the appendix. Note that the names of the classes and namespaces may be different in your project.
6. Build, deploy and run your project
- Build, deploy and run your project in the normal way, using the procedure described in this video tutorial.
7. Check that the program executed successfully
- In this case, the program includes an Input Port named “Calculate”. The matrix multiplication is triggered when the boolean value of this variable changes from FALSE to TRUE. The PLC Output log then includes an entry similar to the following:
11.01.19 15:12:19.006 MyCompany.MyProject.MyProjectProgram INFO - Result of matrix multiplication: [ 3.06 2.72 1.09 [ 1.97 2.28 1.48 [ 10.43 19.69 18.56 4.32 2.97 3.47 * 1.32 2.69 3.80 = 14.98 35.03 29.49 1.64 0.39 2.06 ] 0.73 4.95 3.40 ] 5.25 14.99 10.92 ] [ 3.77 4.02 2.71 [ 2.98 2.69 4.33 [ 14.90 24.30 29.34 2.81 0.18 2.00 * 0.29 3.35 1.07 = 10.28 8.67 18.79 0.04 1.12 4.39 ] 0.93 0.25 3.22 ] 4.51 4.94 15.51 ] [ 4.72 1.78 2.51 [ 2.47 0.87 0.92 [ 28.11 12.86 11.79 2.16 4.13 1.41 * 2.89 1.65 0.68 = 23.57 11.95 8.27 1.69 3.01 0.70 ] 4.50 2.30 2.49 ] 16.00 8.06 5.33 ] - The PLCnext Control program is now running successfully.
Note on blocking calls
External functions may introduce execution delays that can affect the performance of the PLC, for example by blocking a program for long enough to trigger the Task Watchdog timer. In these cases, consider the following possibilities when designing your program:
- Use asynchronous instead of synchronous function calls.
- Execute blocking calls from a worker thread instead of the main program or component thread.
Appendix – Program source code
Sample program header file
#pragma once
#include "Arp/System/Core/Arp.h"
#include "Arp/Plc/Commons/Esm/ProgramBase.hpp"
#include "Arp/System/Commons/Logging.h"
#include "MyProjectComponent.hpp"
#include "NE10.h"

#define MATRICES 3

namespace MyCompany { namespace MyProject
{

using namespace Arp;
using namespace Arp::System::Commons::Diagnostics::Logging;
using namespace Arp::Plc::Commons::Esm;

//#program
//#component(MyCompany::MyProject::MyProjectComponent)
class MyProjectProgram : public ProgramBase, private Loggable<MyProjectProgram>
{
public: // typedefs

public: // construction/destruction
    MyProjectProgram(MyCompany::MyProject::MyProjectComponent& myProjectComponentArg, const String& name);
    MyProjectProgram(const MyProjectProgram& arg) = delete;
    virtual ~MyProjectProgram() = default;

public: // operators
    MyProjectProgram&  operator=(const MyProjectProgram& arg) = delete;

public: // properties

public: // operations
    void    Execute() override;

public: /* Ports
           =====
           Ports are defined in the following way:
           //#port
           //#attributes(Input|Retain)
           //#name(NameOfPort)
           bool portField;

           The attributes comment define the port attributes and is optional.
           The name comment defines the name of the port and is optional. Default is the name of the field.
        */
    //#port
    //#attributes(Input)
    //#name(Calculate)
    bool calculate = false;

private: // fields
    MyCompany::MyProject::MyProjectComponent& myProjectComponent;
    bool prevCalc = false;  // remembers value from previous call

};

///////////////////////////////////////////////////////////////////////////////
// inline methods of class ProgramBase
inline MyProjectProgram::MyProjectProgram(MyCompany::MyProject::MyProjectComponent& myProjectComponentArg, const String& name)
: ProgramBase(name)
, myProjectComponent(myProjectComponentArg)
{
}

}} // end of namespace MyCompany.MyProject
Sample program source file
#include "MyProjectProgram.hpp"
#include "Arp/System/Commons/Logging.h"
#include "Arp/System/Core/ByteConverter.hpp"
#include <sstream>
#include <iomanip>

namespace MyCompany { namespace MyProject
{

void initialise_matrix_column(ne10_mat_row3f *col)
{
    col->r1 = (ne10_float32_t)rand() / RAND_MAX * 5.0f;
    col->r2 = (ne10_float32_t)rand() / RAND_MAX * 5.0f;
    col->r3 = (ne10_float32_t)rand() / RAND_MAX * 5.0f;
}

void initialise_matrix(ne10_mat3x3f_t *mat)
{
    initialise_matrix_column(&mat->c1);
    initialise_matrix_column(&mat->c2);
    initialise_matrix_column(&mat->c3);
}

void MyProjectProgram::Execute()
{
    if (calculate && !prevCalc)
    {
        ne10_mat3x3f_t src[MATRICES]; // A source array of `MATRICES` input matrices
        ne10_mat3x3f_t mul[MATRICES]; // An array of matrices to multiply those in `src` by
        ne10_mat3x3f_t dst[MATRICES]; // A destination array for the multiplication results

        // Initialise Ne10, using hardware auto-detection to set library function pointers
        if (ne10_init() != NE10_OK)
        {
            this->log.Info("Failed to initialise Ne10.n");
        }
        else
        {
            // Generate test input values
            for (int i = 0; i < MATRICES; i++)
            {
                initialise_matrix(&src[i]);
                initialise_matrix(&mul[i]);
            }

            // Perform the multiplication of the matrices in `src` by those in `mul`
            ne10_mulmat_3x3f(dst, src, mul, MATRICES);

            // Display the results (src[i] * mul[i] == dst[i])
            std::ostringstream ss;
            ss << "nnResult of matrix multiplication:n";
            for (int i = 0; i < MATRICES; i++)
            {
                ss << fixed << setprecision(2)
                    << "n[ "<<src[i].c1.r1<<" "<<src[i].c2.r1<<" "<<src[i].c3.r1
                    <<"     [ "<<mul[i].c1.r1<<" "<<mul[i].c2.r1<<" "<<mul[i].c3.r1
                    <<"     [ "<<dst[i].c1.r1<<" "<<dst[i].c2.r1<<" "<<dst[i].c3.r1
                    <<"n  "<<src[i].c1.r2<<" "<<src[i].c2.r2<<" "<<src[i].c3.r2
                    <<"   *   "<<mul[i].c1.r2<<" "<<mul[i].c2.r2<<" "<<mul[i].c3.r2
                    <<"   =   "<<dst[i].c1.r2<<" "<<dst[i].c2.r2<<" "<<dst[i].c3.r2
                    <<"n  "<<src[i].c1.r3<<" "<<src[i].c2.r3<<" "<<src[i].c3.r3
                    <<" ]     "<<mul[i].c1.r3<<" "<<mul[i].c2.r3<<" "<<mul[i].c3.r3
                    <<" ]     "<<dst[i].c1.r3<<" "<<dst[i].c2.r3<<" "<<dst[i].c3.r3<<" ]n";
            }
            this->log.Info(ss.str().c_str());
        }
    }

    // Remember the input value for next time
    prevCalc = calculate;
}

}} // end of namespace MyCompany.MyProject


Leave a Reply
You must be logged in to post a comment.