News & Articles Articles

DIY Christmas Ornaments Programmers Edition

lsievert@phoenixcontact.com 11 December 2021 13 min. read
889 views 0 comments LoadingSave

Christmas is just around the corner, everything glitters and shines and is festively decorated! Each of us is happy to admire the colorful lights in the windows, the candlelight on the Advent wreath or the Christmas figures in our own home. For us, the most beautiful of all decorations are self-made! Therefore, we have created an exclusive DIY for you with which you can create your ultimate Christmas ornaments – programmer style.

Look forward to three awesome Christmas ornaments which are easy to make just for you. We have written a step-by-step tutorial to make sure you have fun and also get a great result.

And hey, there are no limits to your creativity! So grab your scissors, glue and glitter and get ready for the next round of Christmas preparations!

1. “Driving home for Christmas” Car

Those of us who live far away fromtheir loved ones know the feeling of “driving home for Christmas”. The car is packed with gifts, travel provisions and luggage in quiet anticipation of the holidays with friends and family.

You know the feeling or someone who is taking off for Christmas? Then our Christmas ornament “Driving home for Christmas” car will be the right one for you!

What you need for this ornament:

  • Old computer mouse (best with cable)
  • Cardboard or thick paper
  • Glue stick & cream tube
  • Scissors, ruler, pencil & edding pen
  • Hot glue gun
  • Old sock
  • Natural yarn
  • Small fir branch

Start tutorial now

Have a lot of fun while crafting!

Step 1

Take an old computer mouse (best with cable).

Step 2

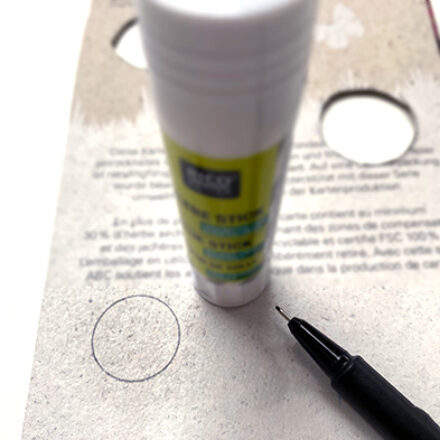
Draw four larger and four smaller circles on a cardboard / thick paper (you can use an old postcard for example #upcycling). We used a glue stick for the smaller and a cream tube for the larger circles.

Step 3

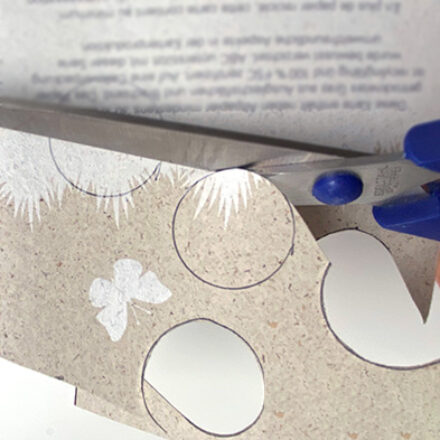
Cut out all drawn circles.

Step 4

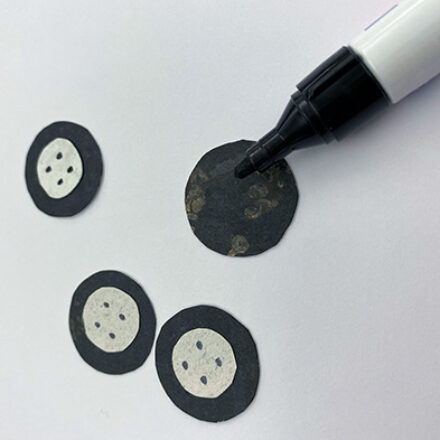
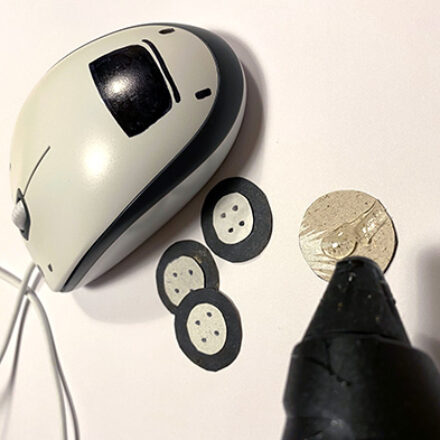
Paint all larger circles black. The smaller ones will only get four small dots in the middle. The dots should represent the screws in the wheel rim.

Step 5

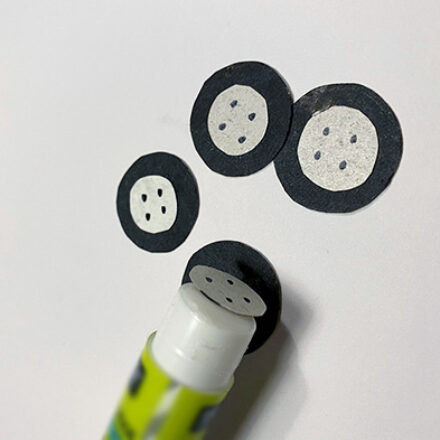
Glue the smaller circles onto the larger black circles.

Step 6

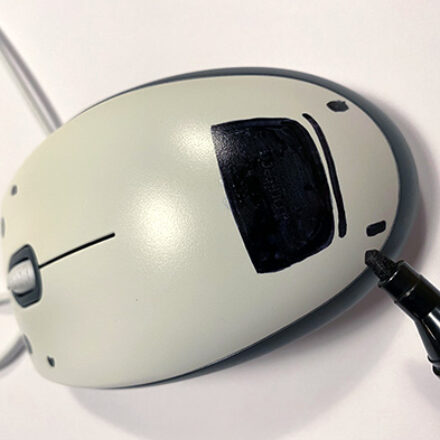
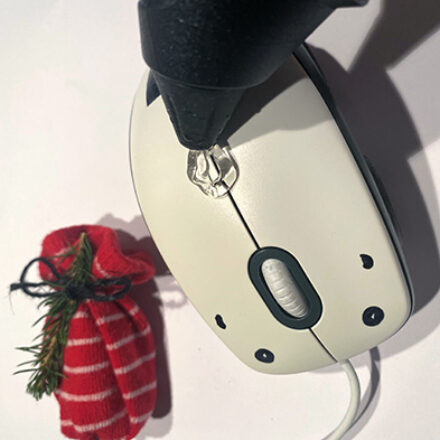
The old computer mouse is used as the car body. So, we draw some car elements on the mouse e.g.: front and rear lights, rear window, bumper, etc.

Step 7

Glue the wheels on the car. We have used a hot glue gun.

Step 8

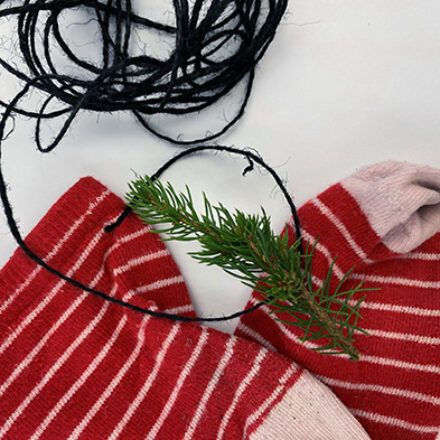
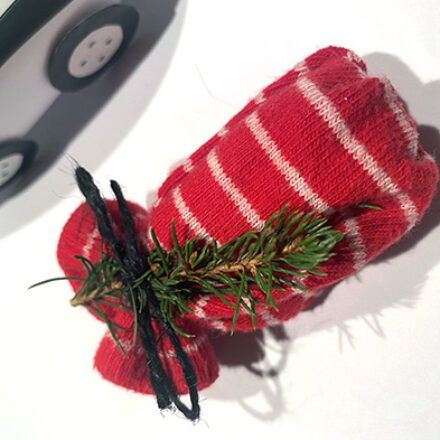
Take an old sock, a natural yarn, and a small fir branch.

Step 9

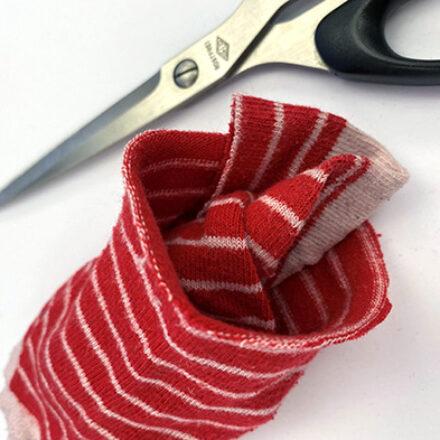
Shorten the sock and put the cut piece inside the sock.

Step 10

Knot the filled sock with the natural yarn and include the small fir branch in the knot. The filled sock with the fir branch is our full gift bag.

Step 11

Glue the gift bag on the car. We have used a hot glue gun.

Step 12

Congratulations! You have completed your own “driving home for Christmas” Car. Have fun with it! And remember if you post your car, don’t forget to tag us #plcnext.

2. Keyboard Christmas Tree

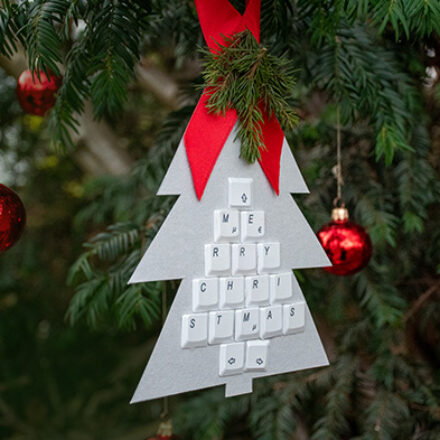
This Christmas ornament is the perfect for everyone because 1) it is super easy to make and 2) who does not want a Christmas ornament made out of an upcycled keyboard?

The great thing about it: You can think of what you want to say with your ornament! For example, how about saying “Talk nerdy to me!” or “All I want for christmas is a PS 5!”. On the keys, ready, go!

What you need for this ornament:

  • Computer keyboard (or another devices with keyboard pads)
  • Cardboard or thick paper
  • Scissors, ruler, pencil & hot glue gun
  • Fir branch & satin ribbon

Start tutorial now

We hope you enjoy crafting!

Step 1

Take an old computer keyboard. Alternatively, you can use other devices with keyboard pads that contain the required letters.

Step 2

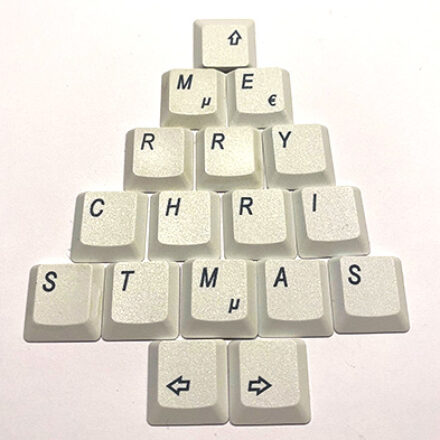
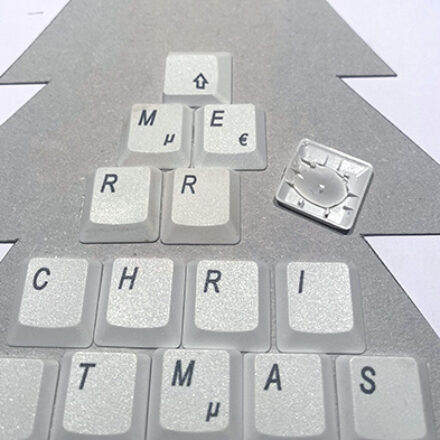
Break out the letters you need. We have chosen the letters for: “Merry Christmas”.

Step 3

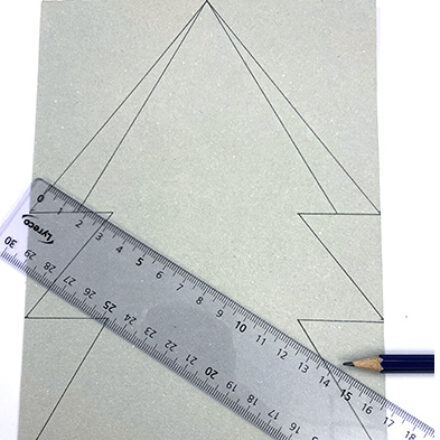
Draw a Christmas tree on a cardboard. Tip: It is much easier if you use a ruler. Make sure the tree is wide enough for your keys. It is best to lay the keys on the table and measure them beforehand.

Step 4

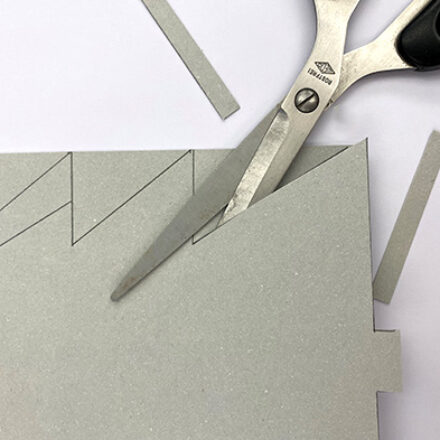
Cut out your drawing.

Step 5

Glue the letters you selected in the correct order on the cut out tree.

Step 6

Use a pretty satin ribbon for hanging up your ornament and glue it with hot glue on to your cardboard tree.

Step 7

Glue a small fir branch on the ribbon.

Step 8

Ready! This Christmas ornament will make your tree special. If you post your ornament, don’t forget to tag us #plcnext.

3. “Circuit Board Tree” Ornament

The best comes last! Probably the most extraordinary decoration in the Christmas business: Our “Circuit Board Tree” ornament.

This piece makes all tool lovers among you shine already during the creation. But please make sure you take appropriate safety precautions.

What you need for this ornament:

  • Old circuit board
  • Angle grinder & protective equipment (e.g. safety goggles, gloves, etc.)
  • Ruler and pen
  • Satin ribbon
  • Hot glue gun if necessary

Start tutorial now
Have a lot of fun while crafting!

Step 1

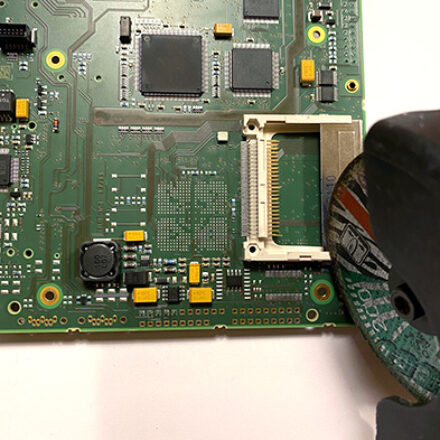
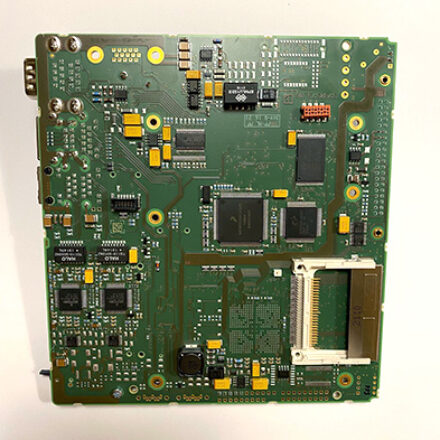
For this beautiful Christmas ornament you need an old circuit board.

Step 2

For the next steps you will need an angle grinder. ATTENTION: When using an angle grinder, you absolutely need the necessary protective equipment! This protects you and others especially from flying parts.

Step 3

Think about a shape you want to saw out. Tip: To make it easier for you while sawing, you can sketch out your desired shape with a pen on your board.

Step 4

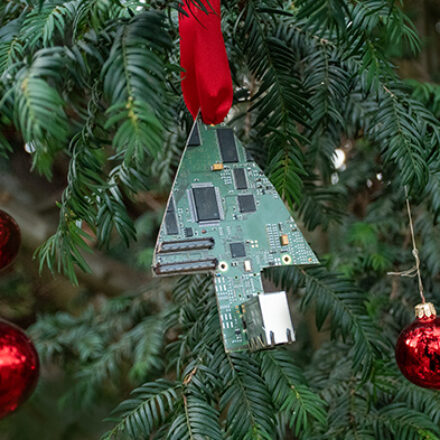
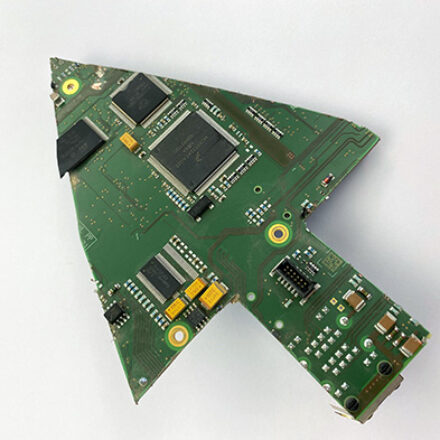
We have chosen the shape of a Christmas tree.

Step 5

Choose a satin ribbon which will be used to hang the ornament on your Christmas tree. If there is no pre-made hole that you can use for your ribbon, glue it down with the hot glue gun.

Step 6

Congratulations! Now you have your own circuit board Christmas tree ornament. Have fun with it! And remember if you post your ornament, tag #plcnext!!

With these beautiful self-made Christmas decorations nothing stands between you and a great Christmas celebration. If you have decided to give away some of the ornaments, we are sure your loved ones will be joyful and happy!

We hope you’ve enjoyed reading and are inspired to make your our Christmas ornaments.

Feel free to post your ornament and don’t forget to tag #plcnext!

The whole PLCnext Technology marketing team wishes you a Merry Christmas, relaxing holidays and a good start into a new year 2022!

(Please note: We are not liable for any injuries during the creation of the Ornaments.)

Laura Klara Sievert
Global Marketing & Communication Manager
889 views 0 comments LoadingSave

Discussion

Please login/register to comment

Login/Register

Leave a Reply

Newsletter
Never miss a new article
Sign up for the newsletter
Never miss news about PLCnext Technology
Get interesting content via newsletter four times a year
Receive exclusive information before all other users